Aku tak tau kenapa aku suka sangat menghias rumah kami. Kadang aku rasa terlalu taksub dengan persekitaran rumah. Lagi2 kawasan dalam rumah. Dulu masa bujang2 bilik yang jadi sasaran. Macam2 aku buat. Lukis bulan dan bintang kat dinding bilik. Kononya seni ler tu. Tapi bila teringat kisah dolu2 memang kena gelak ler. Dulu masa baru pindah umah puas gak belek2 majalah IMPIANA & ANJUNG SERI. Bila dah renovate rumah. Hubby dah sound kat aku "pasni tak yah beli lagi majalh2 tu, rumah dah siap kan?" Aku senyum jer....Tapi sembunyi2 aku beli gak. ungkal!....Biasanya aku minta kebenaran ngan hubby dulu kalau nak beli apa2 walaupun barang milik persendirian. Buat apa aku ngan hubby "tiada rahsia antara kami". Ok2 aku nak cerita tentang STENCIL ni. Dulu2 orang suku tampal kertas dinding untuk buat feature wall kat living room. Memang cantik dipandang. Tapi bila dah bosan ngan kertas dinding ni cam nyeksa jer nak tanggalkannya. Dah lah aku ni kurang tahap kesabaran. Semua nak cepat siap. So belek2 laman dekorasi ni terjumpa satu kaedah untuk menghias dinding iaitu STENCIL. Kerja memang rumit tapi bila dah siap memang bangga tahap giler gaban. Ha3x.....buat masa ni aku dah try kat bilik izzul ngan shiera. simple but nice untuk insan yang tak kreatif sangat macam aku ni.
Kita boleh buat stencil selain kat dinding umah. macam tepi frame gambar, syiling rumah, Karpet.
Maksud stensil dari http://bebazine.blogspot.com
Stencil adalah template yang digunakan untuk menggambar atau mewarnai identitas dari tulisan, simbol, shapes, atau pattern
Pada pembuatan template pada stencil, gambar direkatkan pada template, kemudian dipotong sesuai dengan kebutuhan.
Potongan-potongan yang jadi di sebut islands. Potongan harus tersambung dengan potongan lain. sambungan tersebut dinamakan bridge. Jadi untuk membuat stencil dengan satu warna (one layer), template yang digunakan cukup satu.
street stencilnya....
Stencil juga menjadi populer pada grafiti, sejak stencil menggunakan cat semprot sehingga dapat menghasilkan gambar secara cepat dan mudah,me-letter dengan menggunakan stencil para seniman mengkritik isu politik menjadi lebih atraktif. Seperti anarcho-punk band Crass menggunakan stencil sebagai pesan perlawanan (anti-war, anarchist, feminist, dan consumerist) pada tembok sekitar daerah London
Historynya....
stencil diperkirakan ada pada jaman edo, digunakan untuk mewarnai pakaian yang terbuat dari sutra. Di Eropa (1950) dengan teknik cetak lama mengguanakan potongan kayu sebagai alat cetak, saat itu mereka menggunakan warna hitam dan putih untuk mencetak lembaran permainan kartu. Lama setelah itu mereka menggunakan ekstrak tanaman dan bunga sebagai pewarna.
Stencil digunakan juga pada mass media sehingga tidak menggunakan tulisan tangan lagi. buku pertama yang dicetak dengan stencil adalah kitab.
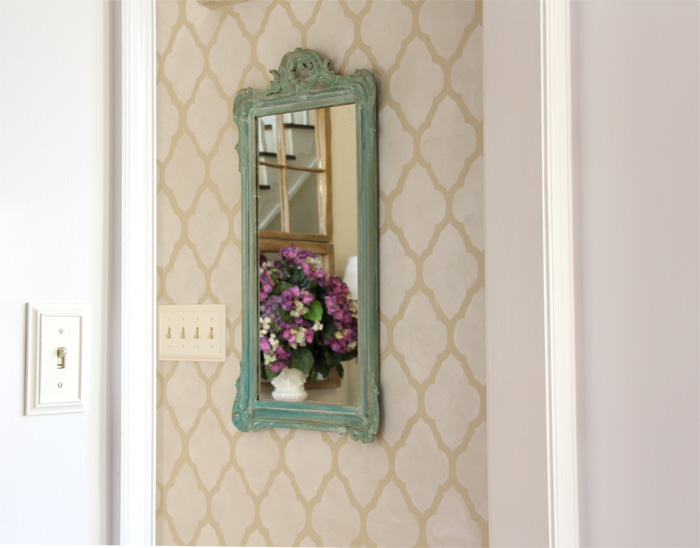
Here is the before photo of the wall I stenciled. This is the view from my office:
credit to http://momitforward.com
Before
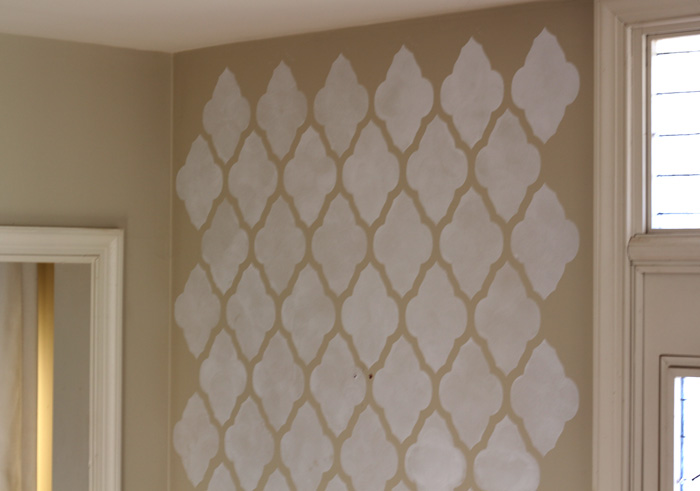
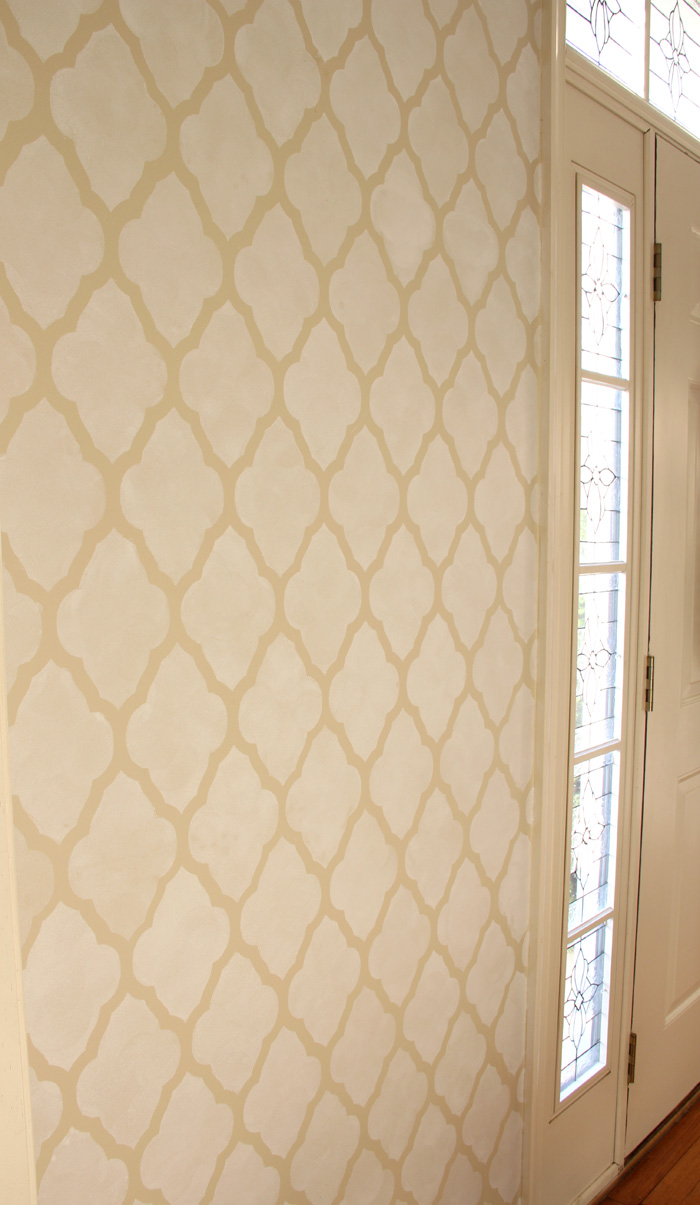
After
How to Stencil a Wall with a Royal Design Studio Stencil
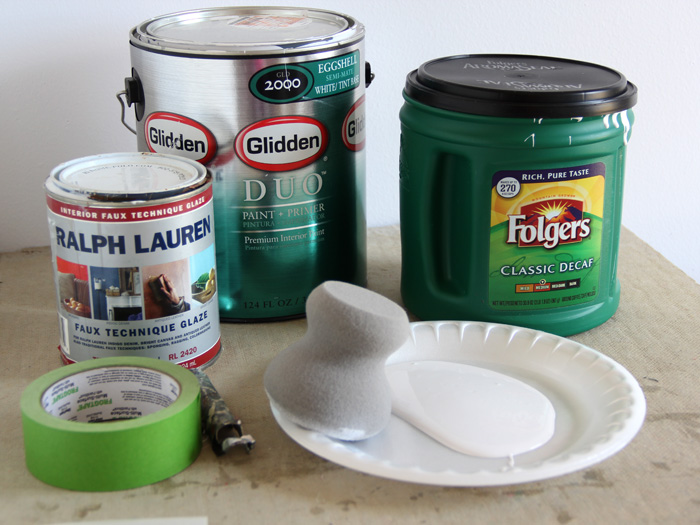
Supplies Needed:
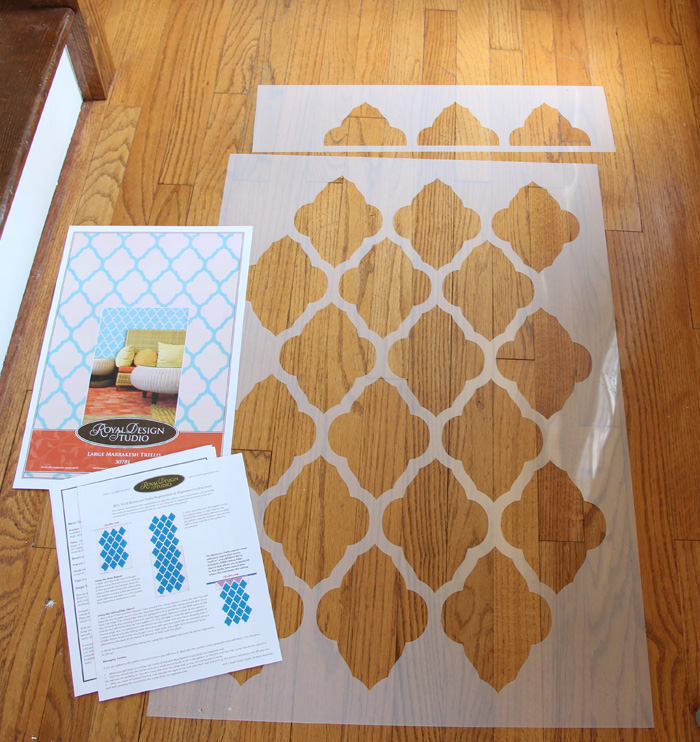
- Royal Design Studio Stencil RDS 3078 Large Moroccan Trellis
- Paint
- Clear glaze
- Sponge pouncer
- Paper plate
- Mixing container
- Painter's Tape
Directions:
The stencil is quite large. It also comes with a separate stencil to make stenciling the ceiling line easier and full step-by-step directions.
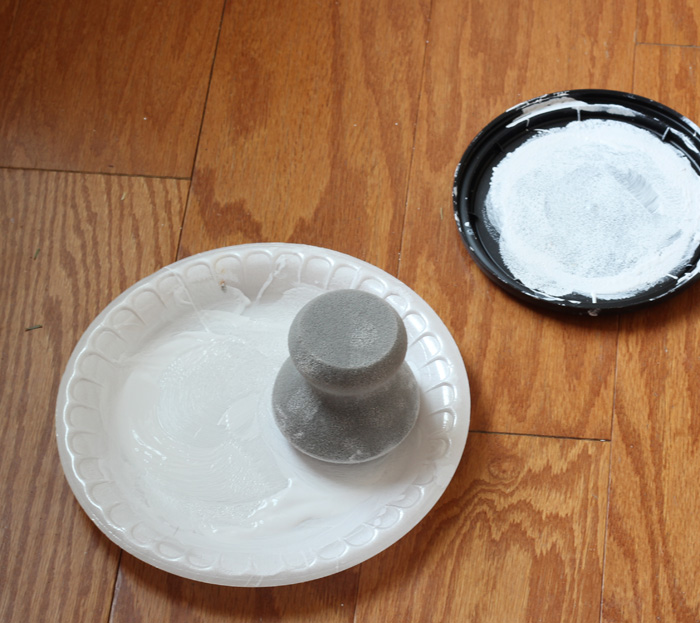
I found a large sponge pouncer at the craft store and it worked well. I decided to use that instead of a stencil brush or roller as I didn't want the pattern to be too bold. I also mixed the white paint with clear glaze—1/4 part paint with 3/4 part clear glaze. The glaze also allows for more time to work the paint before it dries.
When stenciling, it is always best to load your brush, pouncer, or roller with paint and then blot it on a paper towel first, before applying to the stencil.
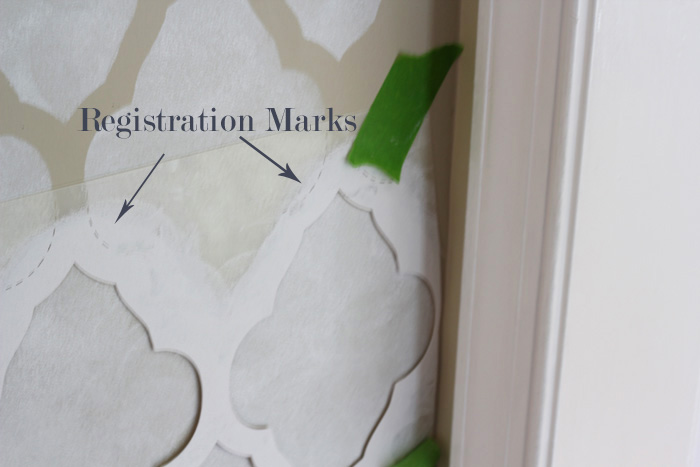
The stencil comes with registration marks. These marks are what makes it easy to line up the stencil when you move to a new section on the wall.
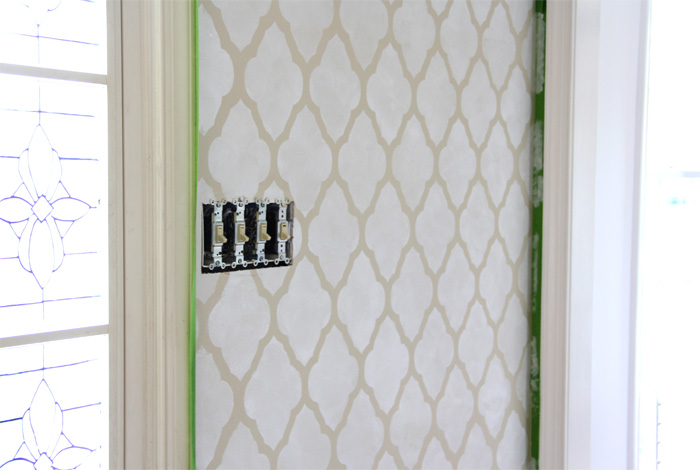
Before stenciling, remove switch plates and tape off the area to be painted with painters tape. Start stenciling from the left and go to the right. When I reached the corner, I could not get the stencil flat, so I trimmed a bit off so it would fit. This did not alter the design on the stencil at all.
I used the separate ceiling stencil to finish the space right below the ceiling line and along the baseboard.
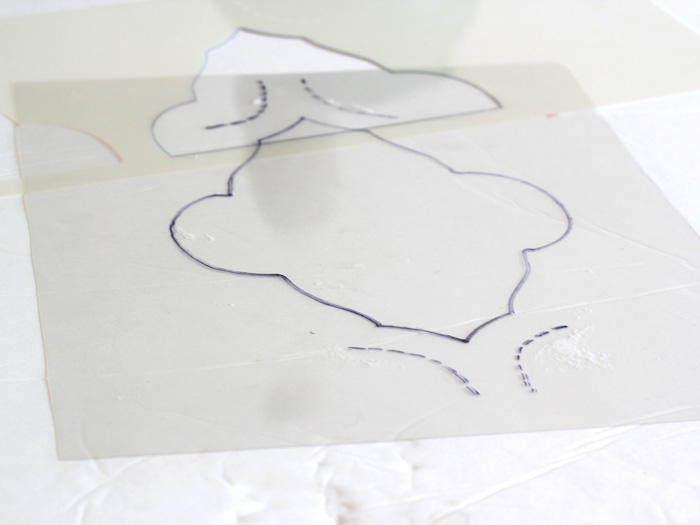
Since the stencil was so large and I could not get it into the corner well, I traced the pattern and the registration marks on a piece of acetate (you can buy at a copy center) and cut it out with a craft knife. I then used that to stencil the sides of each wall.
It worked perfectly and made stenciling the sides very easy. Now it looks like wallpaper.
Since the paint was applied lightly, it dried quickly and I was able to hang the mirror on the wall again. Now I am enjoying my efforts and the view from my office.
Since I only did 2 small walls, it only took me about 5 hours start to finish.
What fun and creative things have you done to change the look of your walls?
- See more at: http://momitforward.com/stencil-wall-royal-design#sthash.mSNxwClz.dpuf

